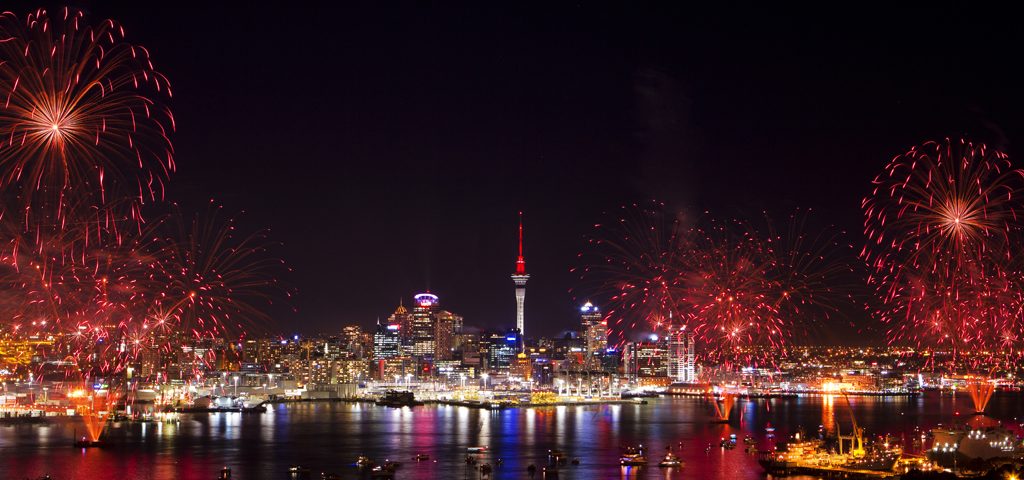
Fireworks over Auckland

Fireworks over Auckland

New Zealand is currently playing host to the Rugby World Cup, and it seems the entire country has taken on a very patriotic and festive atmosphere.

I witnessed this firsthand last week during the festivities that marked the opening of the tournament.

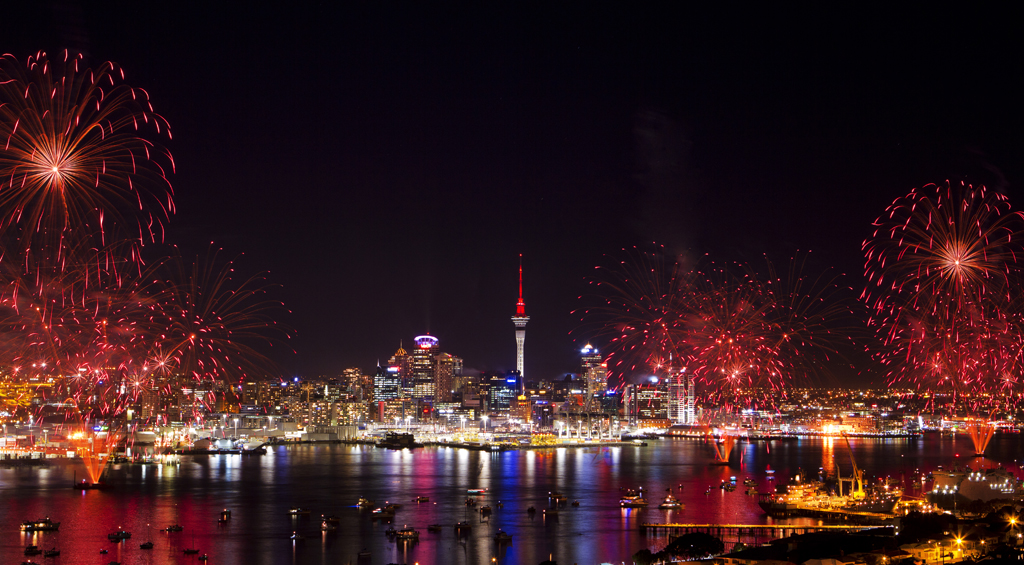
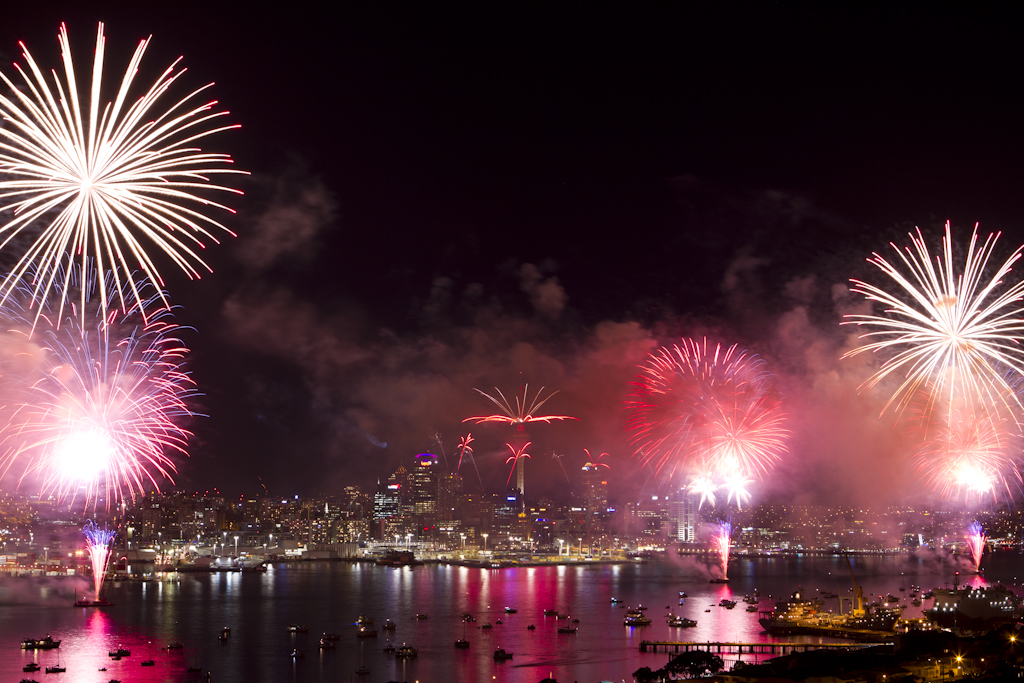
Part of the opening ceremony was a 12 minute firework display over Auckland City.

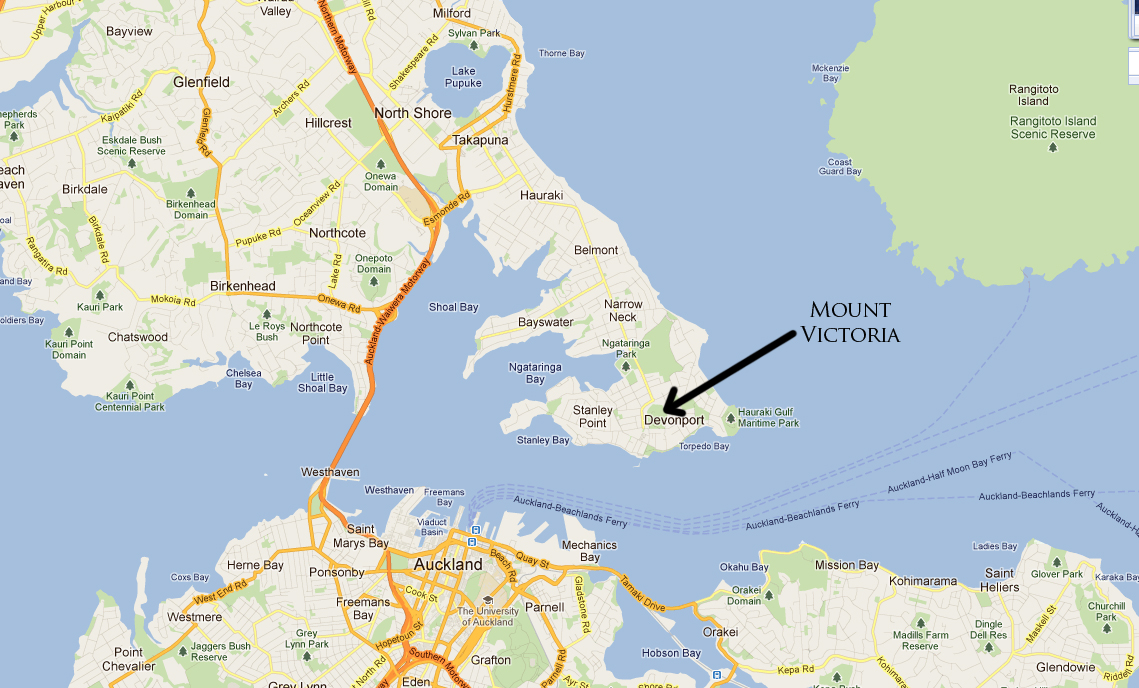
Seeing as I have never had the opportunity to shoot fireworks, I opted to spend my night on Mount Victoria (The best lookout over the city) and see what I could come up with.

Planning, thinking and learning bites after the jump.

This particular shoot posed two distinct problems.

Firstly, the fact that I had never shot fireworks before.

Secondly, finding and securing a location which was likely to be swamped with people (given that Mount Victoria was the best place to view the show)

Preparing to shoot something New

The internet is full of little gems of information if you know where to go look for it.

Preparing for the shoot, I was not surprised to find that one of the photographers I respect most, Joe McNally, did a fairly comprehensive post on the subject in his own blog.

Take a look at it here

The blog post is actually a condensed version of a chapter from his last book – The Life guide to digital photography

Seriously good writing by an absolutely amazing photographer.

Well worth the purchase, and at around NZ$20 (and free worldwide shipping) from The Book depository, it’s an absolute must read.

The basic take home message for me:

1. Get there early and stake out your claim.

2. Compose the image with a lot more sky than you think you’ll need. You can always crop in later, but you can’t recover things if you cropped too tightly.

3. Shoot at your lowest ISO and an aperture of around f8/f11. Experiment with shutter speeds and figure out what exposes the static part of the image well.

4. Try shooting in bulb mode to vary your exposure time.

5. Using a black card in front of the lens with a bulb exposure will allow a longer exposure time.

6. Remove the card with each fresh burst of pyrotechnics, and if you time things right you can combine a series of bursts onto one image.

Location Location Location

I’ve done enough landscape photography to know that location planning is the foundation on which everything else is built.

Where to set up, what time to get there, how to get there and what to pack for the job.

Ignore these questions at your peril.

This shoot promised to be fraught with curve-balls.

Mount Victoria was by far the best place to view the show, but this also meant that I would be one of possibly thousands with the same idea.

This posed a number of problems that I could identify, though with no idea of how much they’d affect the shoot.

Mount Victoria is a long-dormant volcanic mound in Devonport, which is just north of Auckland across the Waitemata Harbour.

Great spot, but with one main entry road.

Timing it wrong would leave me stuck in traffic, lead me to arrive late, find parking miles away, lug gear and refreshment all the way to the top of the hill and then not find a spot to set up (Not a pleasant prospect)

I opted to leave home 5 hours before the show, thinking this would buy me plenty of time.

I’d packed an ipod, book and camp chair, so the wait for sunset would be a piece of cake.)

Despite this, I fouind myself backed up in traffic from the exit of the motorway. My heart sank into my shoes even further when, 30 mins after taking the exit, I arrived in Devonport to find every street parked up. Not looking good.

Luckily I grabbed a spot that must have only recently been vacated.

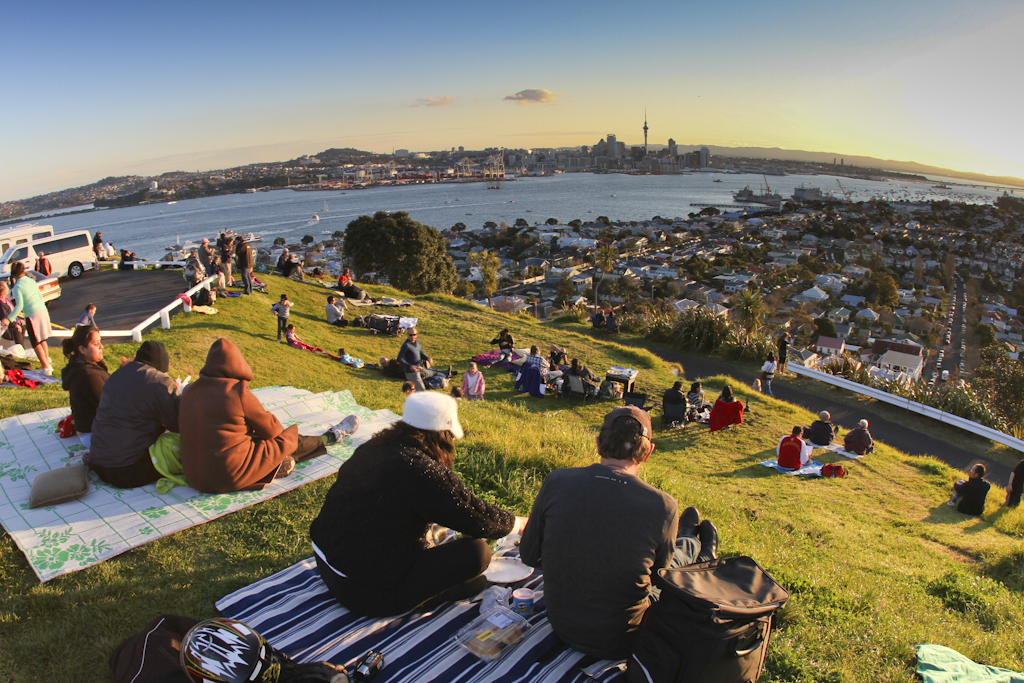
A brisk 10 minute walk and I was on top of the hill.

Luckier still, there were many unobstructed spots to choose from.

Game on!

Conditions could not have been more perfect, and with the festive atmosphere that existed, it was promising to be a very enjoyable and memorable evening.

I was incredibly fortunate to find a spot beside a really lovely family whose company and conversation made the long wait for 8 o’clock a real pleasure.

So, tripod out and set up, I opted for the 70-200mm.

Took a few test shots, tried a few different framing options, and settled in to await the setting of the sun.

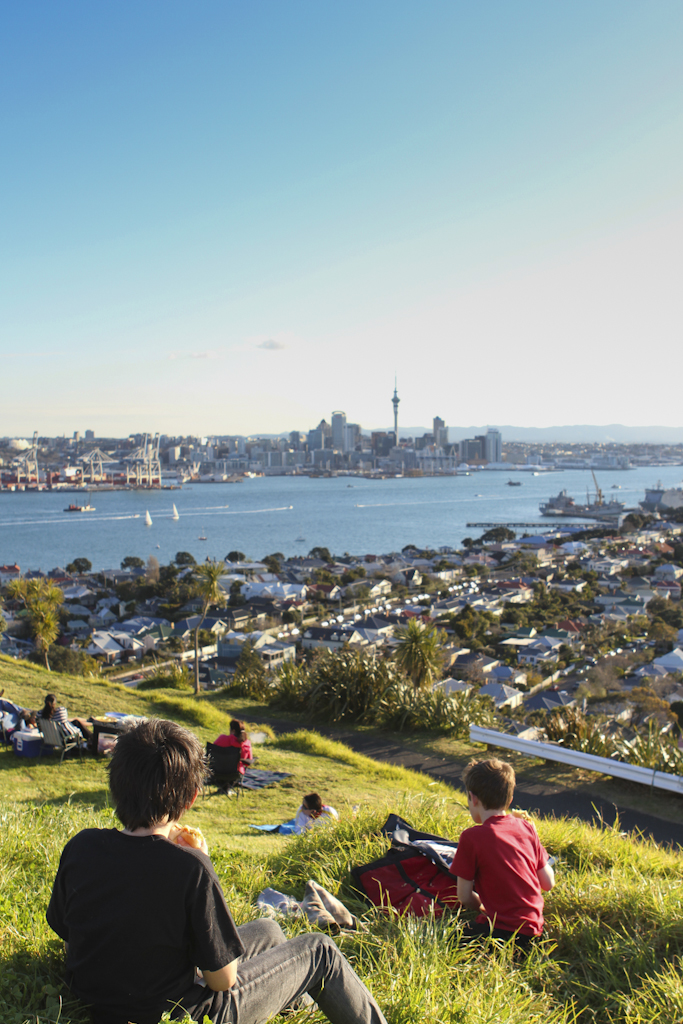
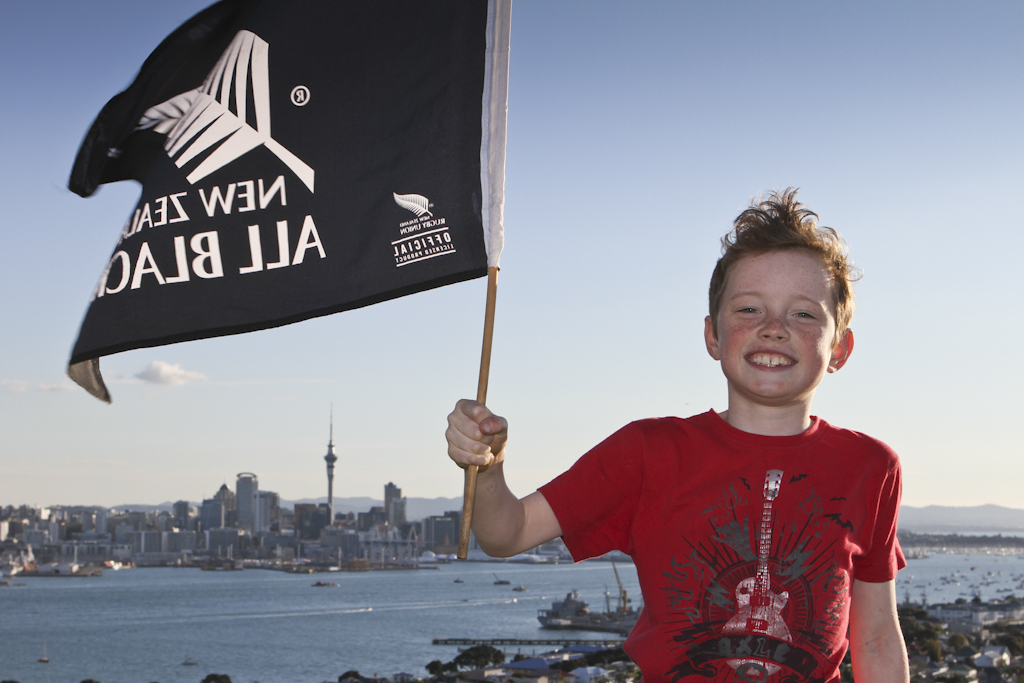
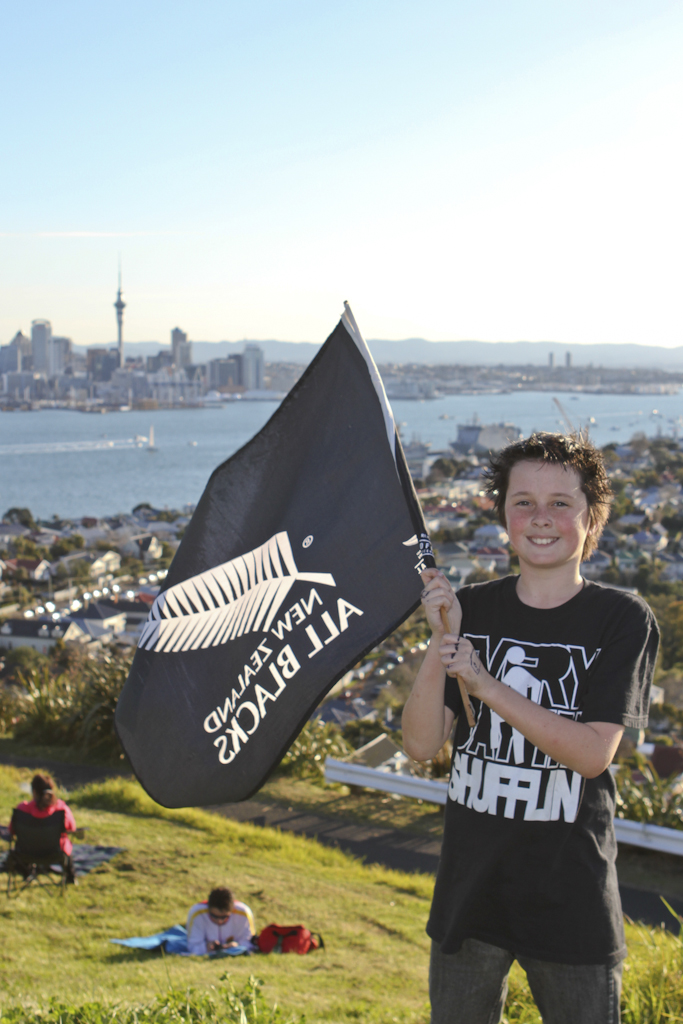
In the meantime, I couldn’t resist taking a few snaps of the “neighbours” kids.

Growing up is all good and well, but losing the ability to be completely enthralled by the promise of something exciting is a sad fact of adult life.

I honestly love landscape photography.

The thrill of being out with your camera in that golden hour around sunrise or sunset and actually capturing something special is something that most photographers relish.

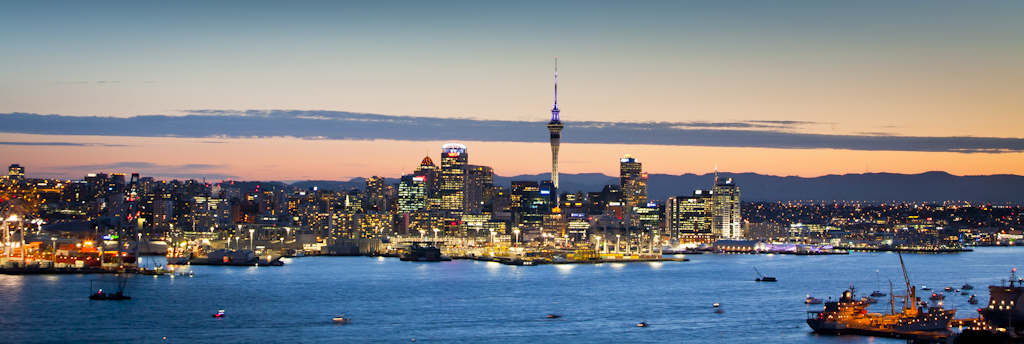
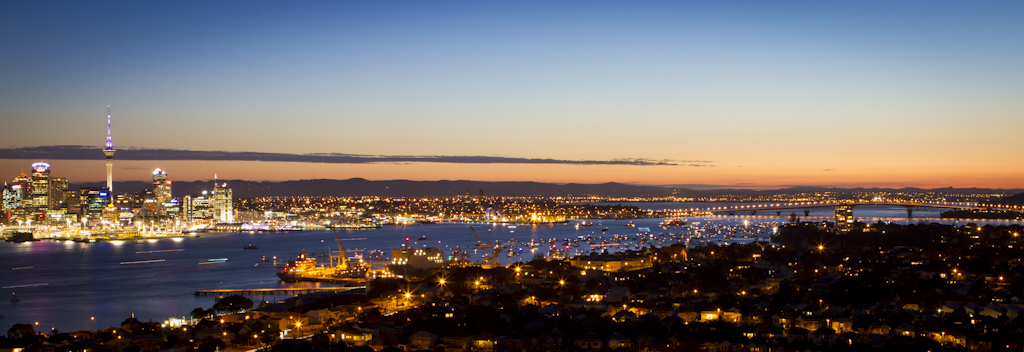
I love the vibrance and energy of a city scene, and this particular night was something amazing.

All I had to do was get my focus and exposure right and the scene did everything else.

The time actually passed rather quickly, and before too long I found myself sitting at 19:50 with a cable release in my hand, waiting for the first salvo of light.

I decided to stick with th 70-200mm lens, with the option to change to the 24-70 if necessary. (I reckoned there’d be plenty of time during a 12 min performance)

I was soon to learn that if you want to create magic when shooting fireworks you’ve pretty much got to get things right at the beginning.

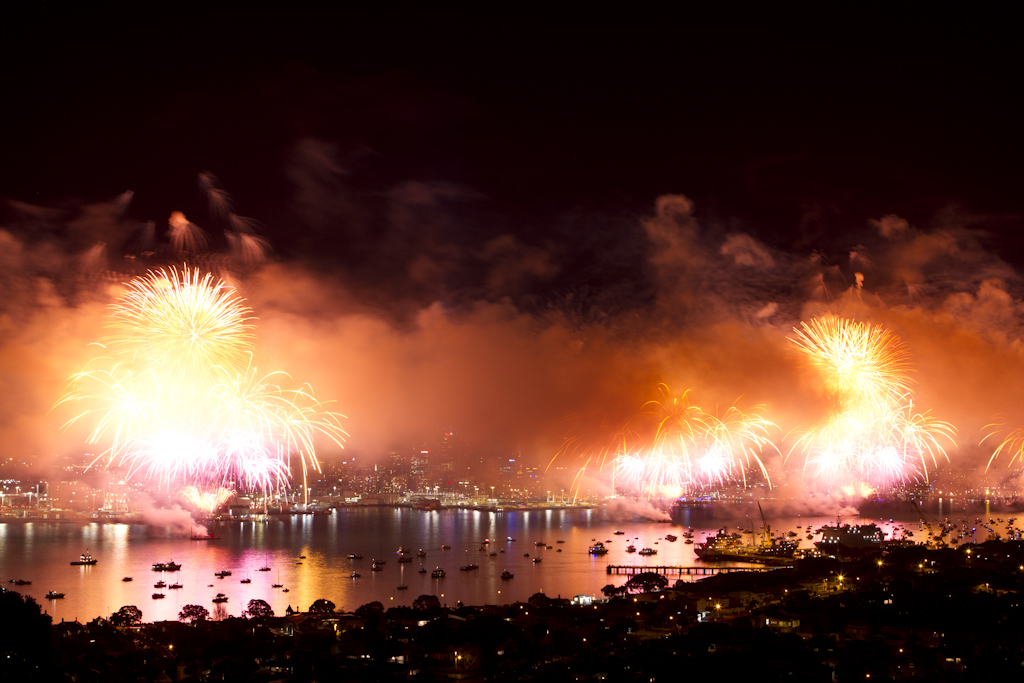
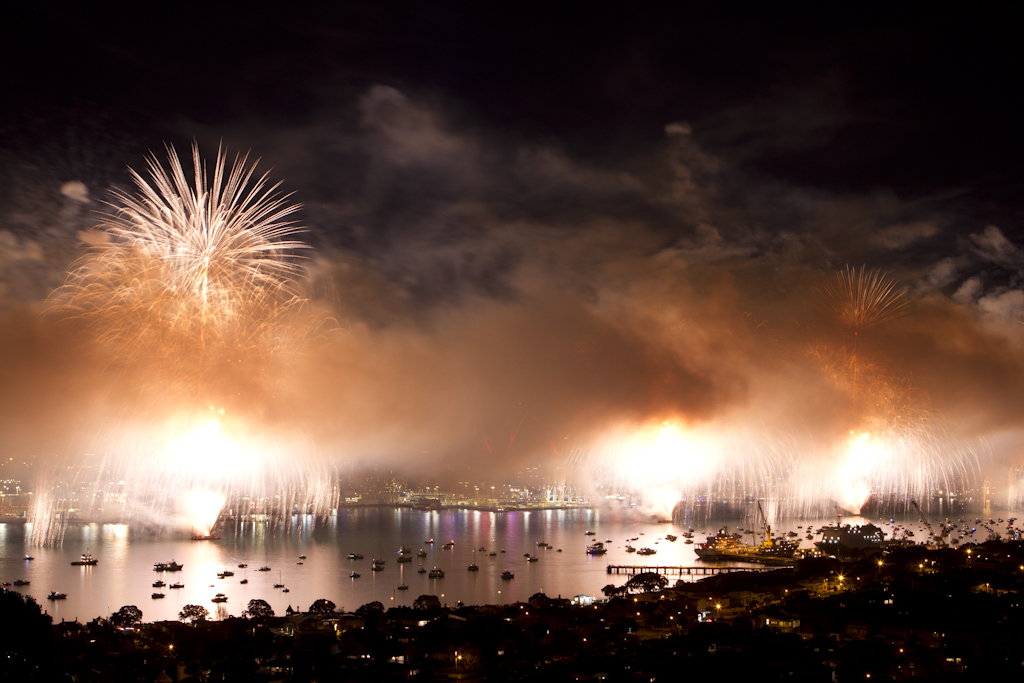
The sky fills with smoke so quickly that pretty soon your scene loses all of its character.

I got lucky with the title shot of this blog, but the rest, apart from telling the story, are not likely to have much commercial value.

All in all, a pretty good night.

As I always do after any shoot, I sat down the next day to do a post mortem and jot down what I learnt, and what I could do to improve things next time.

1. Don’t understimate how early you need to get to your spot.

2. ISO 100 @ f11 is plenty good to give a shutter speed that works really well.

3. The black card idea needs a little work. I don’t think I created anything with it. Using the bulb exposure made things pretty tricky exposure wise.

4. White/yellow fireworks tend to blow out your exposure very quickly compared to red/green.

5. Get the money shot early on – a sky full of smoke kills a photo.

6. Don’t plan on changing lenses.

7. Possibly set up a second camera + tripod.

8. Warmer clothing – Auckland wind on an unexposed hilltop at night for a few hours is no picnic.

The task now is to work at marketing some of the images.

Hopefully a few of the ideas I have will pan out, and that process itself will turn into a worthy blog topic.

In the meantime, thanks for stopping by.

As usual, any comments or questions are most welcome.

Important Announcement: Studio closure and changes in availability.
After 13 years I've had to make the difficult decision of relinquishing my studio premises.
Please click the link below for further details on the change and my availability moving forward.